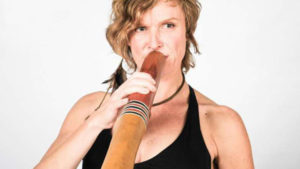
At a time when wooden mouthpieces are becoming the norm, it is still good to know how to redo your beeswax mouthpiece!
Because this one will have to be renewed regularly. Fortunately, shaping your mouthpiece with beeswax is quite simple.
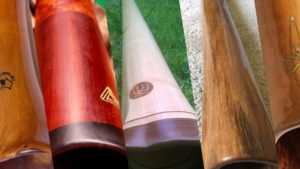
There are several reasons to change its mouthpiece, and of all, hygiene is certainly the first. Indeed, when you buy an instrument, the mouthpiece has certainly welcomed dozens of players before you… Not very gusty isn’t it?!? As for those who bought their didgeridoo long ago, there are many risks that it is eventually getting old and dirty.
First step: get beeswax for your didgeridoo!
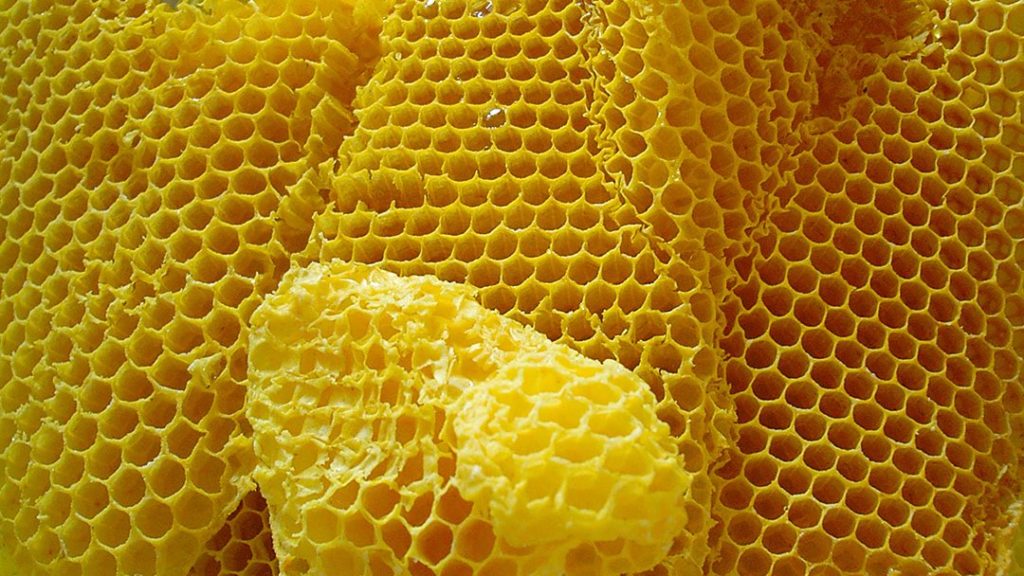
In a beekeeper’s market, in a drugstore, beeswax is everywhere. If you are in a big city, you should be able to find a honey shop. Of solid consistency, it is sold in block or honeycomb sheet, its price is cheap. With a few euros, you can make dozens of mouthpieces. Be careful not to confuse it with pasty beeswax which is intended to maintain your furniture. I remember that at the beginning I had this error… After having a lot of difficulty to make my mouthpiece (because the wax had no outfit), I had been surprised by noticing that it had still not dried after 24 hours! I could have waited months if a friend hadn’t put me on track! Aaahh the joy of the beginning. ?
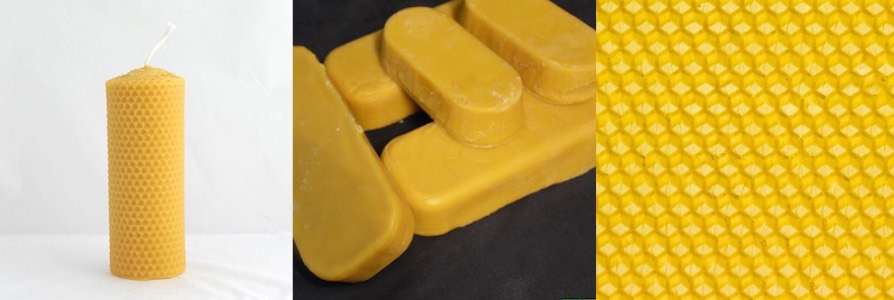
Bread wax 500 grams. / Rolled honeycomb wax to make a candle / Alveolate wax plate
Second step: softening beeswax
Soften a piece of wax (about a 4cm x 4cm x 1cm rectangle) and let it become soft and malleable. You have several solutions to achieve this result:
- in the sun … if it’s summer or you’re in Australia!
- In the oven at a very, very soft temperature …
- in the microwave,
- with a hair dryer,
- or any other heat source.
Step Three: Shape a Ring from your didgeridoo size
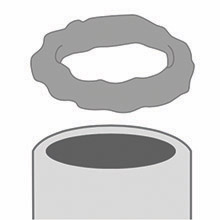
Once the wax is softened, model it into a coil, then a ring the diameter of your didgeridoo. Once the diameter is adapted, melt slightly the part that will be in contact with your didgeridoo in order to stick it well to the didgeridoo. Place it quickly on the instrument with sufficient pressure to seal it securely.
Fourth step: adapt the shape to your didgeridoo
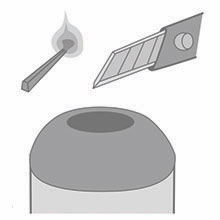
For finishes, heat a blade (knife or cuter that fears nothing) and remove excess wax. The purpose of this is to remove the wax that would interfere with your nose and make it flat to put your lips as tightly as possible. A mouth full of curls is a real air leak nest!
And here’s your mouthpiece which is now finished! It’s no more complicated than that. ?
I hope these few steps will help you to redo your mouthpiece! If you have any questions or comments, please feel free to post them at the bottom of this page. Good breath with a brand new mouthpiece!
And if you want to go further, I wrote a didgeridoo method that gives all the basics (read more: How to play your first rhythms on the didgeridoo ).
A big thank you to Stephane Bouillet for the illustrations.